In the past couple of years, we’ve seen the adoption of digital contracts surge to unprecedented levels. This trend is evidenced very well by many industry-specific reports, such as the latest Wolters Kluwer’s Equipment Lease Finance Digital Transformation Index, showing a 31% YoY adoption increase.
What does this mean? Well, for one, knowing how to convert an image to a signature is now essential knowledge for businesses and individuals alike. Even though a copy-pasted image won’t help you in all circumstances (sometimes, you’ll need dedicated contract management software that enables full-fledged electronic signatures), it will do in straightforward situations. If you don’t know how to convert an image into a signature, we’ll delve deeper into the steps required in this article.
Read also: Leaving your mark: The history of the signature
Copying signatures from images – Differences between PNG, JPG and HEIC formats
When it comes to copying signatures from images, the format of the image (the initial photo or scan you take of your writing) can significantly impact the quality and usability of the signature. Let’s sum up the key differences between three popular formats:
- PNG (Portable Network Graphics) – This common file format supports transparency and lossless compression, meaning that when you copy a signature from a PNG image, you retain all the fine details without any degradation in quality. The drawback is that the image files take up quite a bit of space compared to JPG and HEIC.
- JPG (Joint Photographic Experts Group) – JPG images are compressed using lossy techniques. While this results in smaller file sizes, it can also lead to a loss of detail, especially with intricate signatures. Be prepared for potential blurriness or distortion that may affect its professional appearance.
- HEIC (High-Efficiency Image Coding) – A newer format that is a potential alternative to PNG and JPG. While not lossless, it offers excellent image quality, even at the highest compression levels. HEIC also supports transparency and image sequences, though the latter has little consequence for our use case.
Keep in mind that whatever format you use, in one of the following steps, you’ll need to remove the background from the image and then save it in a format that supports transparency. Due to this, and the fact that the file size shouldn’t be a factor in this particular scenario, we suggest using a PNG file right from the start.
Read also: How to convert signature images to text
How to convert an image to a signature: Step-by-step
Step 1: Choose your image
The first step in converting an image to a signature is choosing your desired image. It can be a photo of your signature, a scanned image of your handwritten signature or any other image that you want to use as your signature.
Choose or create an image with good quality. Specifically:
- Write your signature on a clear, clean, blank sheet of paper and use a dark pen (the key is to have a contrast between the writing and the background).
- If you’re taking a picture, ensure good lighting conditions (daylight or bright light inside – avoid dim lights and don’t use a camera flashlight).
- Additionally, ensure the photo isn’t blurry or unfocused.
If you’re using a scanner, set the scanning resolution to at least 300 DPI (Dots per Inch) to ensure good detail and crispness of your scanned signature.
Step 2: Crop the image of your handwritten signature
Once you have selected the image, the next step is to crop it to remove any unnecessary elements from the image and focus on the signature itself. You can use any image editing software, such as Adobe Photoshop, GIMP or Photopea, to crop the image. Simply select the signature portion of the image using the crop tool and remove the rest of the image.
When cropping the image, leave a small margin around the signature to avoid cutting off any parts of it. This will ensure the signature looks complete and authentic when you’ve finished converting it. The final cropped image must be proportional (so it scales well if you need to resize it). The dimensions and ratio are up to you, though typically, a good aspect ratio for signature images is 1:3 (meaning the width is three times the height).
Read also: How to convert a signature to an e-signature?

Step 3: Adjust the contrast of your signature image
After cropping the image, the next step is to adjust the contrast to make the signature more visible and easier to convert into a digital signature. You can use the brightness and contrast tool in your image editing software. Increase the contrast until the signature stands out and the background is white. However, be careful not to overdo it, as this can make the signature look artificial and unnatural.
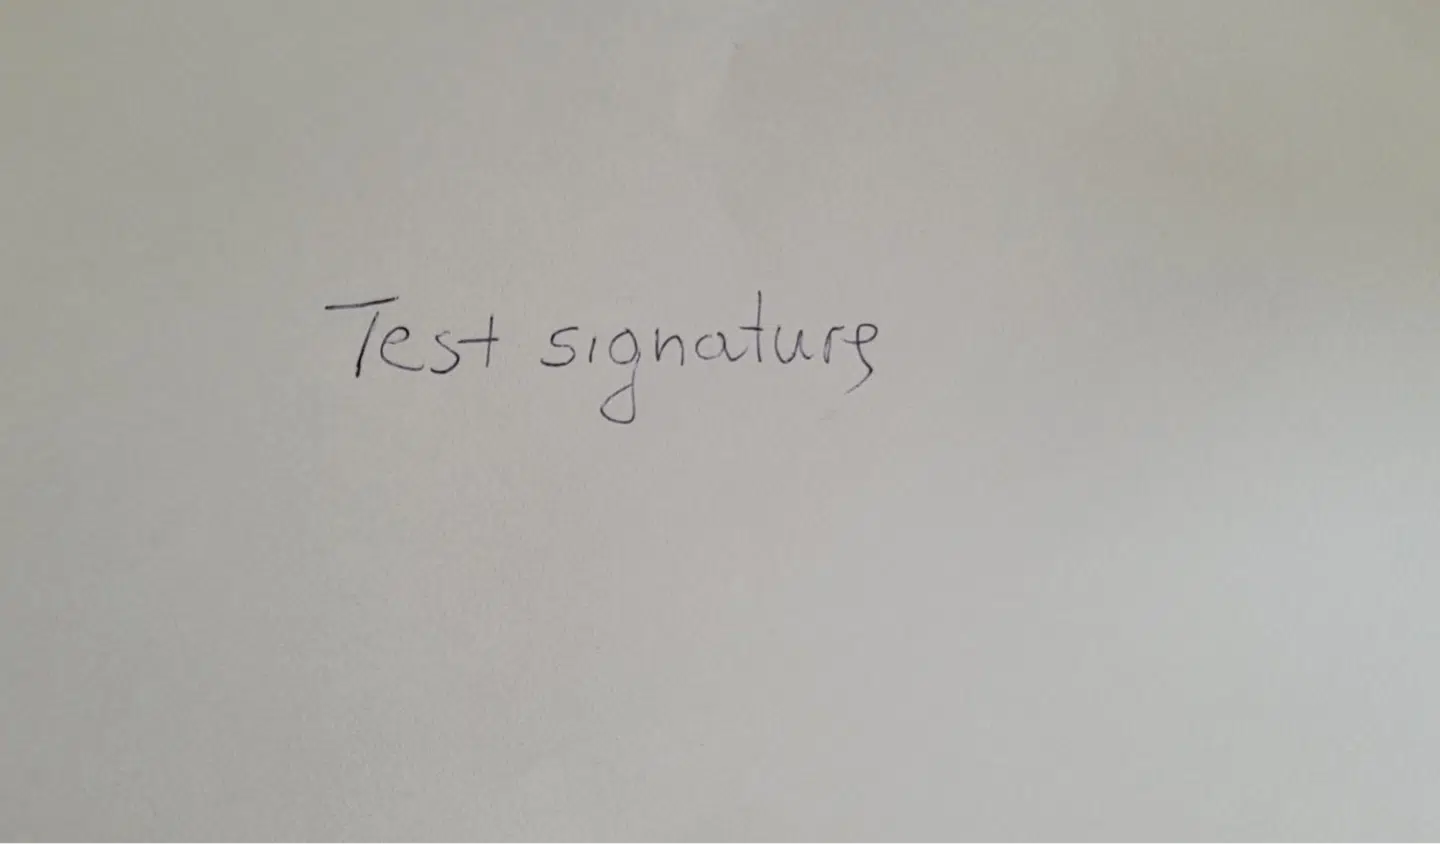
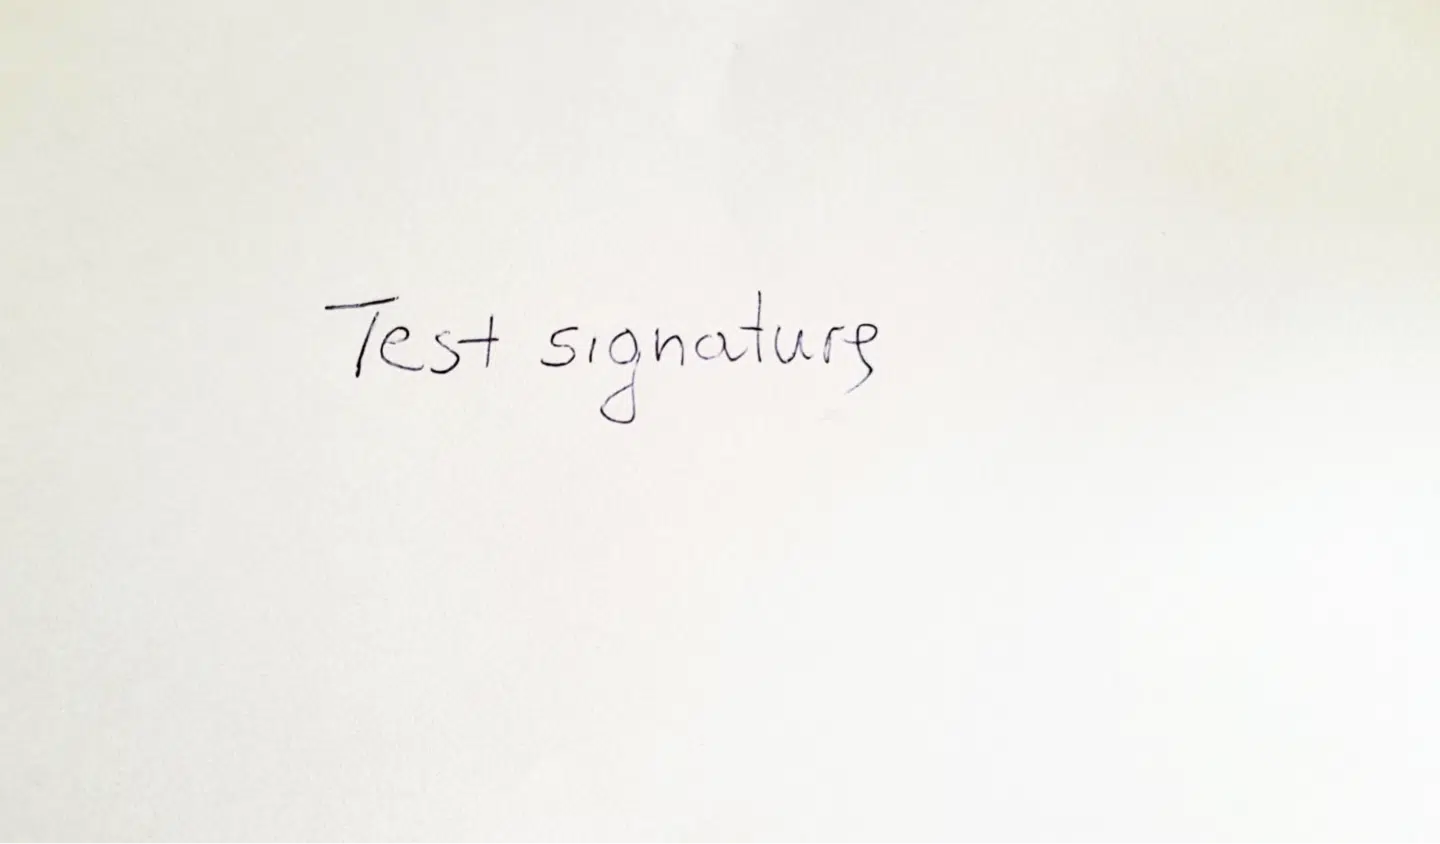
Here are some comparison images to showcase the difference contract adjustment can make:
Image before adjustment:

Image after adjustment:

Read also: What are digital signatures?
Step 4: Save your scanned signature in a suitable format
Now that you have cropped the image and adjusted the contrast, the next step is to save the image in a suitable format. PNG and JPEG are the most commonly used formats when converting an image to a signature. Both file types are widely supported and can be easily inserted into electronic documents. The newer HEIC format is another option. It’s not as popular as the previous two but offers solid quality and small file sizes.
When saving the image, make sure to select a high resolution. It’s a bit different than setting DPI during scanning. The exact method depends on your software, but most tools allow you to set the number of vertical and horizontal pixels. The higher the values, the more detail the image will retain from your initial scan or picture.
Note that these values are usually linked; when you change one, the other adjusts accordingly. Don’t change this option – otherwise, you risk distorting your signature. The rule of thumb for selecting resolutions is to ensure the image looks crisp – in the intended size – on a typical 1080p or 1440p monitor.
Finally, if you’re using the signature for a specific purpose, such as a legal document, check for any requirements for the signature format. Some documents may require a particular file format or resolution. Also, remember that in some cases, simply copying and pasting an image of the signature may not be the best option – consider dedicated software that allows you to sign contracts online easily and securely while ensuring the signatures are legally binding.
Read also: Handwritten signature generator: Create your cursive e-signature

Step 5: Convert the image to a signature with a transparent background
The final step in converting an image to a signature is to remove the background so that you can easily insert it into a Word document, use it during PDF editing, or for any other purpose.
To convert the image to a transparent background, you can use the background eraser tool in an image editing tool, like Canva. Select the image, click “Remove background,” and let Canva do the rest. Unfortunately, the feature isn’t available in the free plan. Still, there are other solutions you can use for the same purpose, such as Photoshop (if you have it), Photopea (a web-based image editing tool that allows you to remove background from an image once per day in the free version) or Remove.bg (which is also a free tool, albeit with some limitations regarding resolutions etc.).
Once you have converted the signature to a transparent background, save it as a PNG or HEIC file to preserve the transparency.
Read also: How to create a handwritten signature online
Oneflow: A digital signature platform for scenarios when a converted image isn’t enough

Sometimes, a copy-and-pasted signature won’t be enough. You’ll need dedicated contract management software, such as Oneflow, to ensure the signatures are legally binding. Our platform offers four methods to sign documents (electronic identification, standard e-signature, SMS verification and handwritten signature) as well as many other helpful features:
- Oneflow AI for contract work: Review your contracts for errors and compliance issues to speed up the writing and editing process and eliminate human error.
- Contract management: Improve contract management with notifications and reminders. Control access to documents with configurable roles.
- Signing process tracking: Track who (and when) signs the documents directly within Oneflow.
- Dynamic templates: Use free business contract templates to create contracts quickly for any industry. You can easily customize them or create your own templates for later use.
- Workspaces and collaboration: Optimize collaboration and streamline workflows thanks to video screen recordings, comments, branded workspaces, audit trails, access rules and configurable triggers.
- Analysis: Monitor engagement data (like open rate) and other key metrics (such as visitor numbers) to optimize contract processes.
- Integrations: Customize Oneflow to your use case with a wide range of integrations, including solutions like HubSpot, Salesforce and Teatailor.
Making a signature with an e-signature tool
If you follow the steps outlined in this article, converting an image to a signature should be a breeze. We hope you’ll create one you like and use regularly, but we also need to stress that it doesn’t have the same legal standing as secure digital signatures. Therefore, it’s not a suitable method for signing key legal documents or contracts. For these situations, you need a way to ensure a fully legally binding signature.
The best option is to use e-signing tools such as Oneflow, which provide top-notch flexibility, security and ease of use, but most of all – legally binding contracts and signatures. Our platform even offers a handwritten signature feature – you can choose this signing method and either draw your signature with the mouse or trackpad or type it in a cursive font.
Interested? Create your account to get started and try our e-signature tool for free!
FAQs
How do I copy a signature from a picture?
It’s easy – use a scanner or simply make a picture with your camera, edit it (crop, adjust contrast) and remove the background via tools such as Canva, Photopea or Remove.bg.
How to extract signature from an image?
Edit and crop the picture to enhance the signature’s visibility and quality, then remove the background, and you’ll have your signature extracted.
How to convert an image to a signature?
Start by selecting the image of your signature. Ensure it’s clear and high-resolution to maintain the quality when converting. Use an online image editing tool or software to isolate the signature from its background and save it as a transparent file, choosing the format you want (PNG, JPG, HEIC). Then, you can copy it into various applications. You can also just draw one with a mouse in Oneflow.
Can I copy and paste a signature?
Technically, yes. However, depending on the circumstances, such an “image copy signature” may not be fully legally binding – it’s generally better to use a secure digital signature via specialized tools such as Oneflow.


